Restoring the paint on classic cars is not just a mere cosmetic enhancement; it’s an essential part of preserving the vehicle’s historical value and integrity. Over the years, classic cars often suffer from wear and tear, resulting in faded, chipped, or peeling paint that detracts from their original elegance. This article aims to provide a comprehensive overview of effective techniques and expert tips that can help enthusiasts breathe new life into their beloved classics.
The process of repainting classic cars involves a delicate balance of art and science. A successful restoration requires an understanding of the paint types used in the era of the car’s manufacture, as well as the application methods that best mimic the original finish. Furthermore, choosing the right products and tools is critical to achieving a results that delights both the owner and any discerning onlookers.
Whether you’re a seasoned restorer or a novice looking to embark on your first project, this guide will walk you through the essential steps, from surface preparation to the final coat application. You’ll discover useful tips to avoid common pitfalls and techniques designed to yield a high-quality and long-lasting finish that maintains the authenticity of these timeless vehicles. Get ready to unlock the full potential of your classic car’s aesthetic charm!
Restoring Paint on Classic Cars: Techniques and Tips

Restoring the paint on classic cars is a meticulous process that requires both skill and patience. To achieve a high-quality finish, it is essential to understand the materials and techniques involved.
Begin by assessing the current state of the paint. Identify areas requiring repair, such as rust spots, scratches, or peeling. A thorough cleaning with soap and water, followed by decontamination using a clay bar, will prepare the surface for further inspection and restoration.
For minor scratches and oxidation, polishing compounds can restore the shine. Start with a heavy-cut compound and gradually move to finer ones, using a dual-action polisher for even application. Always use appropriate foam pads for best results.
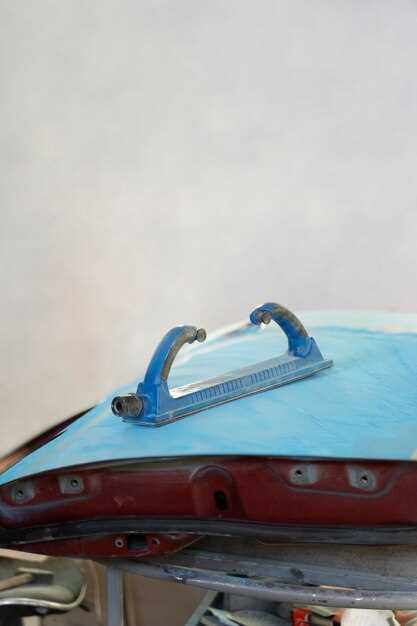
If the paint is severely damaged or has lost its gloss, respraying may be necessary. Before applying new paint, sand the surface using various grits to create a smooth base. Begin with a rough grit (like 320) and finish with a finer grit (like 2000) for a polished look.
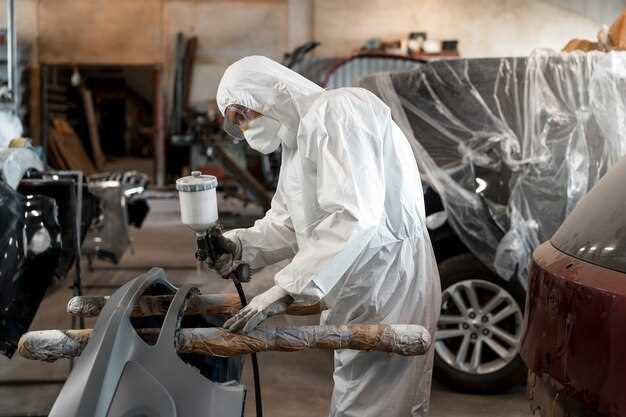
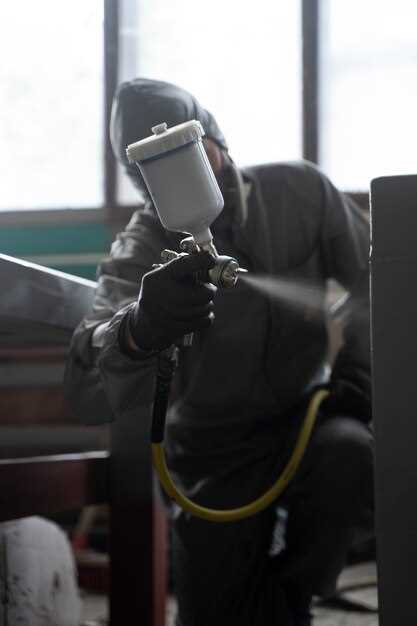
When selecting paint, choose high-quality automotive paint, preferably in the original color of the car. Use a paint gun for application, and apply multiple thin coats rather than a single thick layer. Allow proper drying time between coats to prevent runs and ensure an even finish.
After the final coat has dried, wet sanding with fine grit sandpaper can help achieve a flawless mirror-like surface. Follow this with another round of polishing to enhance the shine. Finally, apply a protective wax or sealant to maintain the finish and protect against environmental damage.
Maintain your classic car’s paint by washing it regularly with non-abrasive products and applying wax every few months. This maintenance routine helps preserve the work you’ve done and ensures the car looks stunning for years to come.
Choosing the Right Paint and Materials for Restoration
When it comes to restoring classic cars, selecting the appropriate paint and materials is critical to achieving a quality finish and preserving the vehicle’s integrity. First, consider the type of paint. Most restorers opt for either acrylic enamel or urethane-based paints. Acrylic enamel offers a durable and glossy finish, but it can be less resistant to chemicals and UV rays compared to urethane. Urethane paints, while generally more complex to apply, provide superior durability and a longer-lasting shine.
Next, examine the color and finish. Many classic cars were painted in colors that reflect their era, so research original color codes and finishes for authenticity. Consult resources like factory manuals or online databases to ensure accurate color matching. Additionally, the finish–whether matte, satin, or glossy–will influence the overall look, so choose based on personal preference and the car’s style.
Don’t overlook primer and clear coats. A high-quality primer is essential for proper paint adhesion and surface smoothing. Choose a primer compatible with your selected paint type. Likewise, applying a clear coat can enhance the depth of color and protect paint from the elements. Make sure it’s also compatible with the paint you choose.
Invest in proper application materials such as brushes, rollers, or spray guns. Airless sprayers and HVLP (High Volume Low Pressure) spray guns are recommended for even application and reduced overspray, allowing for a smoother finish. Using the right tools ensures that the paint is applied uniformly, reducing the chances of imperfections.
Lastly, factor in safety and environmental considerations. Choose paints with lower volatile organic compound (VOC) levels to minimize harmful emissions. Always wear appropriate personal protective equipment (PPE) such as masks and gloves while working with paints and solvents to ensure a safe working environment.
Step-by-Step Guide to Preparing a Classic Car for Repainting
Preparing a classic car for repainting requires careful planning and meticulous execution. Follow these steps to ensure a successful restoration.
1. Gather Necessary Tools and Materials
Before starting, collect all essential tools and materials. This includes sandpaper (various grits), a DA (dual-action) sander, primer, masking tape, a clean cloth, and paint. A spray gun or aerosol cans can also be used based on your preference.
2. Clean the Car Thoroughly
Begin by washing the car to remove dirt, grime, and any surface contaminants. Use a suitable car soap and a microfiber cloth to ensure a clean surface. Rinse thoroughly and allow the car to dry completely.
3. Remove Hardware and Trim
To achieve a smooth finish, remove any hardware such as door handles, mirrors, and trim pieces. This step minimizes the risk of overspray and ensures every part of the body receives a fresh coat of paint.
4. Inspect the Surface for Damage
Examine the car’s exterior for rust, dents, and scratches. Address these imperfections before repainting. Use rust remover or filler as needed to restore the surface uniformly.
5. Sand the Existing Paint
Using the appropriate grit sandpaper (starting around 320-grit), lightly sand the existing paint. Ensure you remove any old clear coat or damaged areas down to the bare metal if necessary. This helps the new paint bond effectively.
6. Clean the Surface Again
Once sanding is complete, wipe down the surface with a clean cloth and a panel cleaner to remove dust and debris generated during sanding. This step is crucial to prevent imperfections in the new paint.
7. Mask Off Areas Not to Be Painted
Use masking tape and newspaper or plastic sheeting to cover windows, tires, and any areas you do not want to paint. This protects non-painted surfaces from overspray.
8. Apply Primer
Choose a suitable primer based on the paint type you will use. Spray the primer evenly across the sanded areas, allowing proper drying time as per the manufacturer’s instructions. A primer helps the paint adhere better and provides an even base color.
9. Perform Final Inspections
After the primer has dried, inspect the surface for any imperfections. If needed, sand the primed areas lightly with a higher grit sandpaper (around 600-grit) and wipe clean again. This ensures a flawless finish for your paint application.
10. Ready for Painting
Once you have followed all the above steps, your classic car is now ready for the final paint application. Ensure your work area is clean and well-ventilated, and maintain a steady hand during the painting process for an impeccable finish.
Finishing Techniques to Achieve a High-Quality Gloss on Classic Cars

Achieving a high-quality gloss on classic cars requires meticulous attention to detail and an understanding of various finishing techniques. Here are some essential methods to enhance the paint finish and attain that desirable shiny look.
- Surface Preparation:
Before applying any finishing products, ensure the surface is thoroughly cleaned and defect-free. Follow these steps:
- Wash the car with a pH-neutral car shampoo to remove dirt.
- Use a clay bar to eliminate contaminants like tree sap and industrial fallout.
- Inspect for imperfections, such as scratches or swirls, and correct them using a suitable polish.
- Choosing the Right Clear Coat:
Select a high-quality clear coat designed for automotive use. Look for options with UV protection and durability to uphold gloss over time.
- Application Techniques:
Proper application of the clear coat is crucial:
- Use a professional-grade spray gun for an even finish.
- Maintain a consistent distance and speed while spraying to avoid runs and sagging.
- Apply multiple thin coats instead of one thick coat to enhance clarity and depth.
- Curing Process:
Allow the clear coat to cure adequately following the manufacturer’s instructions. Avoid exposing the car to moisture or extreme temperatures during this phase.
- Buffing and Polishing:
Once the clear coat has cured, buffing can enhance the gloss:
- Use a dual-action polisher with a soft foam pad to gently buff the surface.
- Choose a high-quality finishing polish designed to increase clarity and depth.
- Buff in circular motions, applying light pressure to avoid burning through the clear coat.
- Finishing Touches:
After buffing, complete the process with a high-quality wax or sealant:
- Apply the product evenly, using a microfiber applicator pad.
- Buff the surface lightly with a microfiber cloth for added shine.
By following these finishing techniques, classic car enthusiasts can achieve a remarkable gloss that enhances the vehicle’s overall appearance and protection. Regular maintenance, including wash and application of wax, will help maintain that high-quality finish for years to come.

